Good Progress
The Wreckla is almost ready to start its transmogrification into the Stretchla. It feels like progress is picking up lately. Although one might think it counterintuitive that I get more productive when allergy season hits, it makes sense when you consider that the small amount of Pseudoephedrine I take for allergies is basically some form of speed.
Air Conditioning
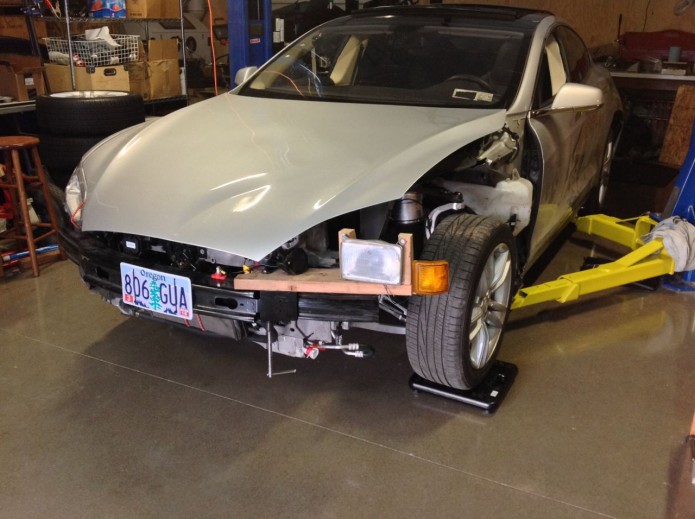
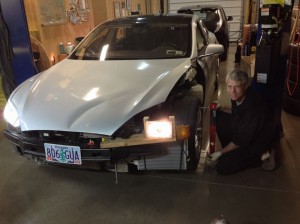
I wanted to insure the AC is working and also get comfortable with AC systems so I can modify them someday. To do that I needed an AC condenser on the left side of the Wreckla. I was resisting this a bit since the support that holds that part on the car was long gone. Fortunately a small plywood addition to my 2X6 DF headlight bracket plus a number of fresh bungee cords made for a surprisingly strong mount and it only took a few minutes to make. Road testing shows that it holds up to wind loading well above the speed limit.
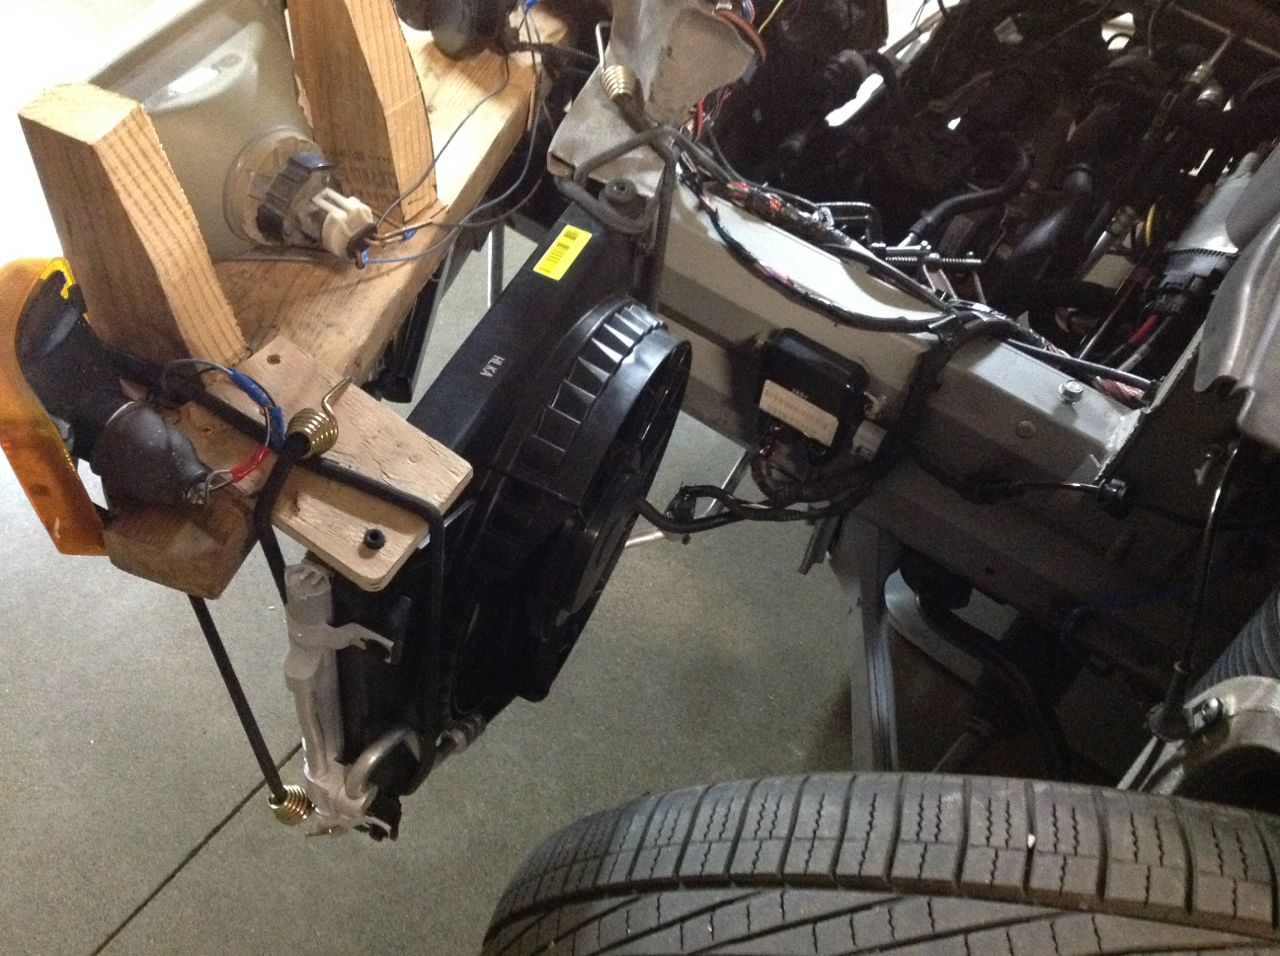
Hacked installation of new AC condenser

Hacked installation of new AC condenser
Since the system had been open for a long time, I replaced the filter and dryer which are located in the right side condenser on the Model S.
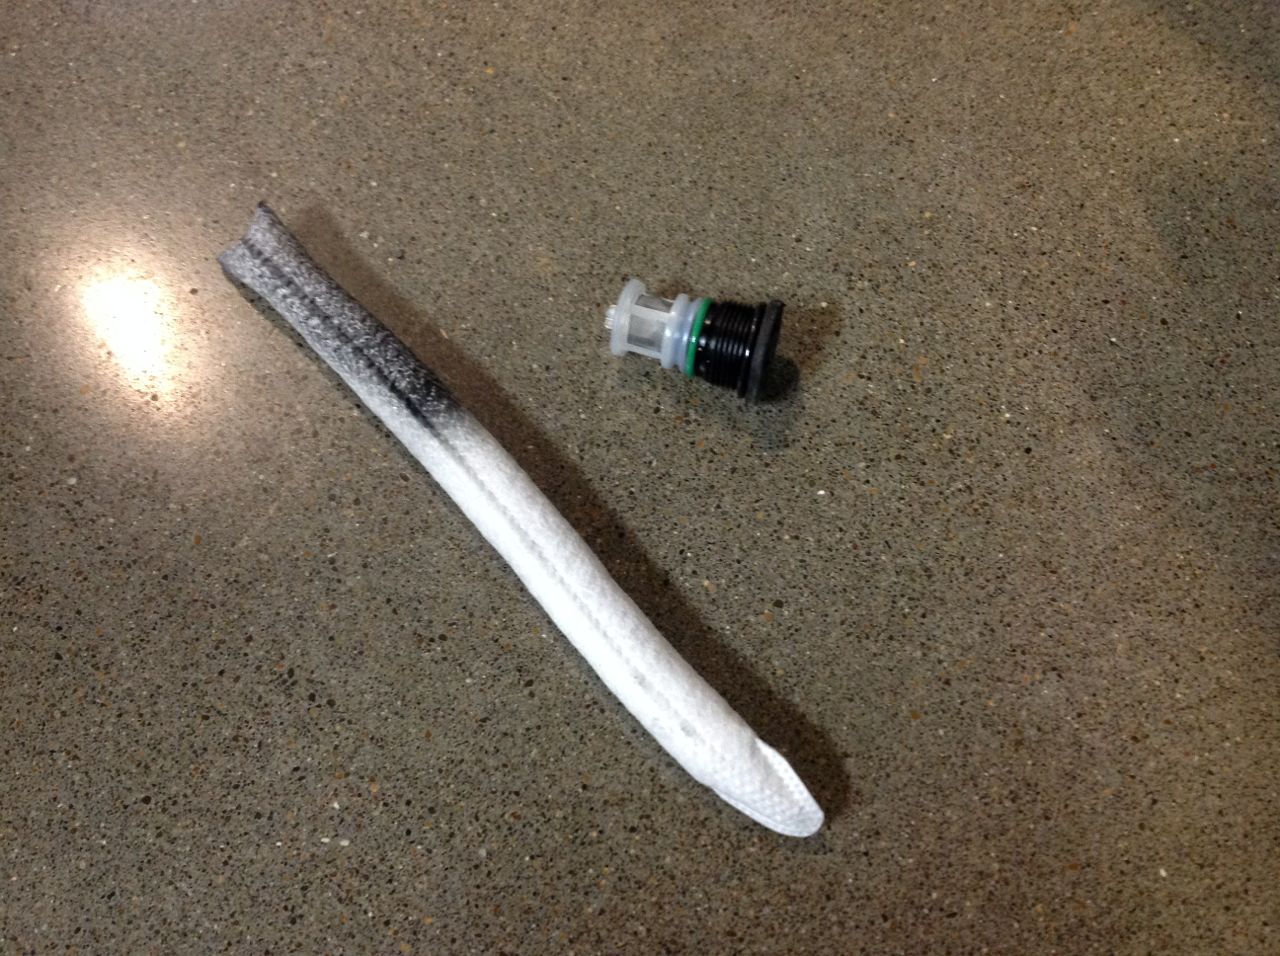
Modern style AC dryer and filter
My friend Ross owns Horton’s German Auto Repair and fortunately he’s a great guy willing to help me out with his AC service machine. Per his suggestion we left the car on the vacuum pump overnight and charged it up in the morning after a leak check. It’s a good feeling to have it charged up since the AC now works well and I assume that the system is required for Supercharging.
Setting the Caster
I wanted to set the caster on the front suspension. It was not really necessary at this stage, but I knew I’d feel better understanding how to do it. Many thanks to Christopher Schimke for his write-up on The Samba on DIY Wheel Alignment. Christopher supplies parts to help out many Vanagon owners with his company T3Technique.com. I already have a very nice super level diamond polished floor, but one of the great ideas I picked up from his post was to put wax paper under the tires to let them slide in place much easier. I found that half a turn of the Model S steering wheel is about 20 degrees and so I recorded a bunch of caster measurements at neutral and +- 20 degrees of turning, adjusting the front suspension until they were balanced left to right and camber was in spec. Years ago I made an addition to my digital level, adding bolts to contact the wheel rim of the Stretch, fortunately the mod also fits well on these 19″ Tesla wheels.
-
Setting caster
Charge Port Installation

I was concerned that people might get a bit freaked out if I were to pull up to the Supercharger and drape the cord into the rear hatch with highly visible orange high voltage cables (I’m sure the wrecked front of the car surprises people enough), so I spent a little time on “bodywork” to make the charge port and cover flap work properly in the original position. Along the way I discovered that the cover sensor is quite sensitive to the flap sitting flat on its latch. A little loosening of the flap mounting screws took care of the car warnings for the charge port being open. Not that it really matters, the car drives fine even if it thinks the port is open. The inlet was mostly undamaged in the accident but the impact did break half the mounting tabs. For now I used plastic repair epoxy to fix the broken tabs, but I’m concerned they won’t be strong enough for more than gentle handling. Although a new inlet assembly costs about the same as one from Nissan for a Chademo inlet, it’s almost a thousand dollars that I’d rather not spend for a couple broken tabs, so I’m still contemplating options to restore it to original strength.

Charge port and cover in close to the proper location
As for the Tesla taillight that I bought for such a great deal on ebay, it turns out that despite the sellers insistence that it was a US version, it wasn’t. It seems “ECE” does stand for European. Once I installed it I got an orange turn signal light which also lit up with the brake lights. It looked really cool, but for legality I went back to my US red light with the missing outer cover.
Louvers
I wired up the replacement louvers (also bought off ebay) with some connectors from Newark to replace the missing section of wiring harness. These are the two for the AC condensers and they seem to operate normally. I assume that installing them fixed a couple error codes, but I’ll have to wait until I get a report before I know for sure.
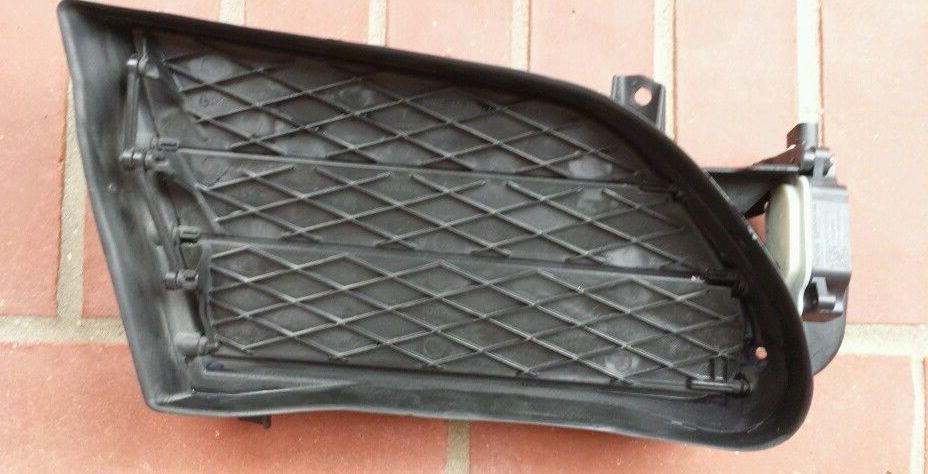
Collecting louvers
To the Supercharger!
With systems looking pretty good I headed off to my nearby Supercharger in Springfield Oregon. I was topping off the pack at home before I left just in case I couldn’t charge there and to allow for high energy use on the trip due to poor aerodynamics. In retrospect that was not needed and may not have been such a great idea for testing the Supercharging function.
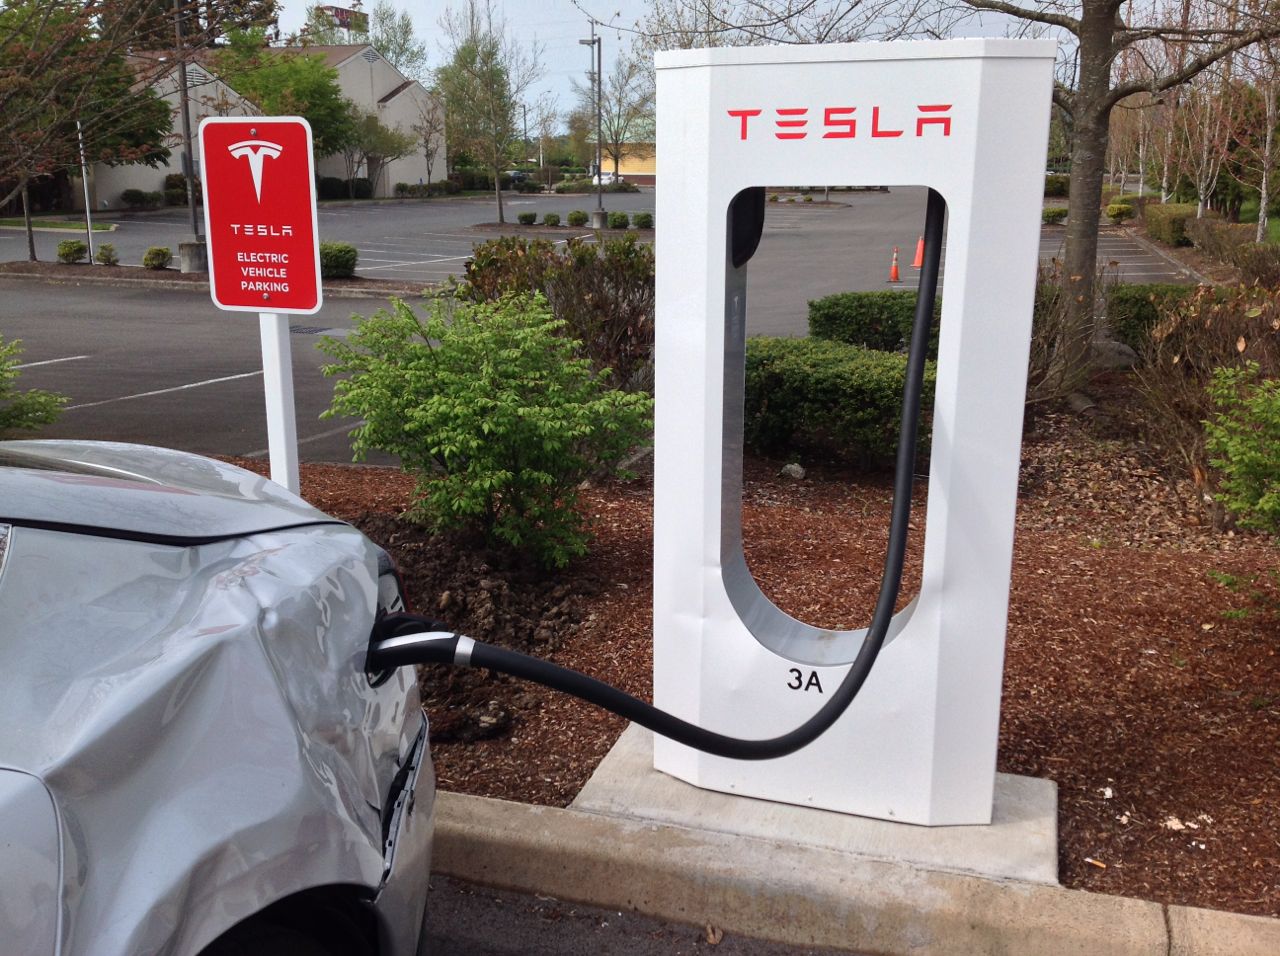
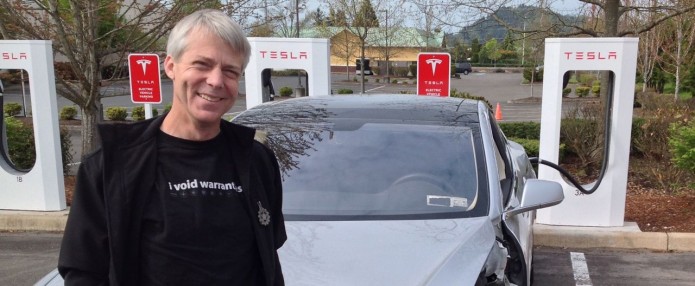
Wreckla plugs in
I arrived and plugged it in.
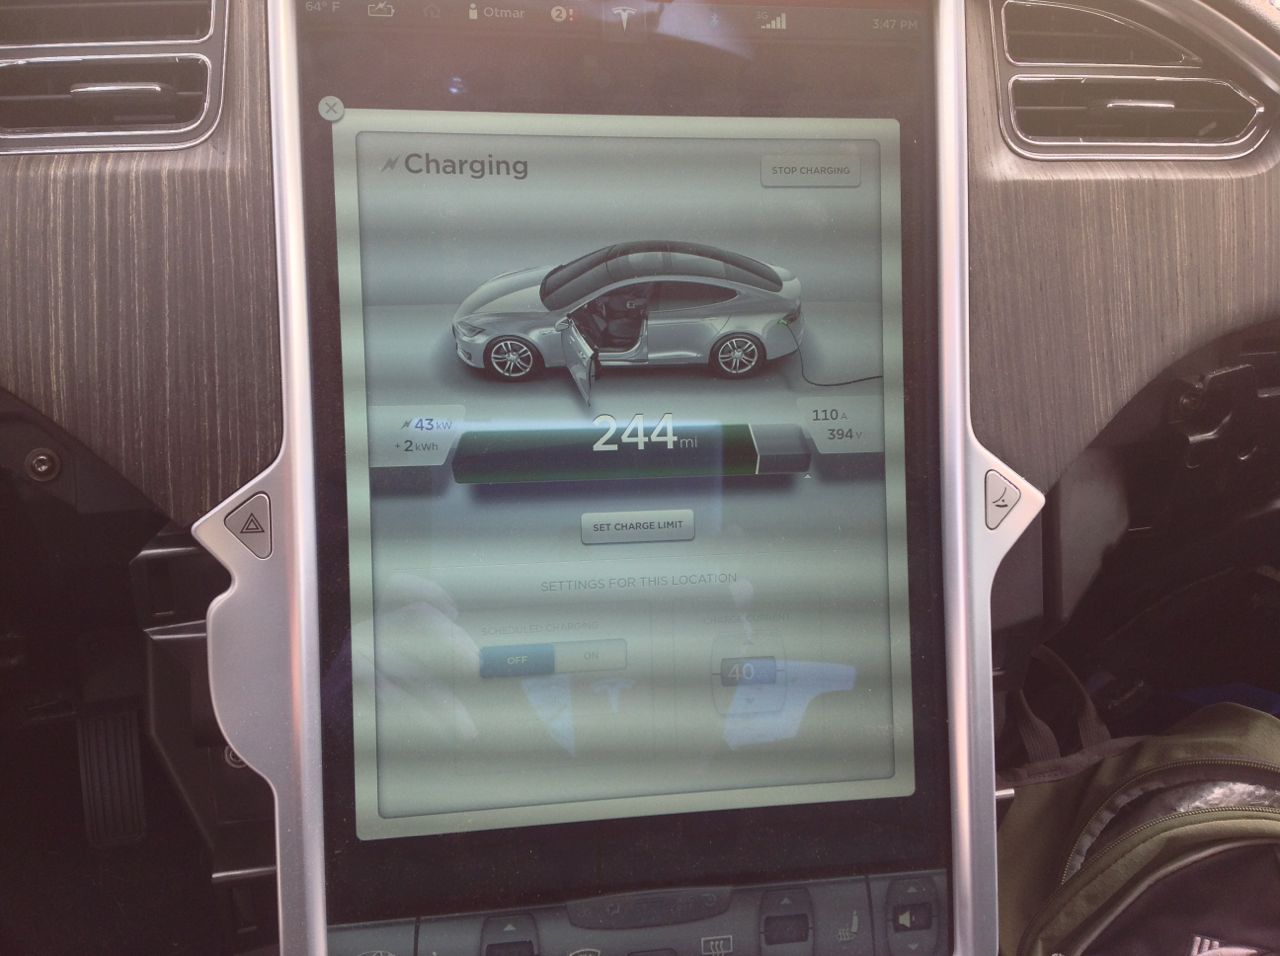
Supercharging at 110 Amps and 394 Volts, the battery was already pretty full
The car ramped up to 43kW charge rate which is probably normal considering it was over 80% full when I started. I was a bit surprised that the AC did not kick in to pre-cool the battery. I wonder if that was normal for a cool battery and low charge rate, or maybe something is not quite right yet with the system. I don’t know the car well enough yet but eventually I’ll get an error report to see how it performed.

Supercharging the Wreckla
Now that the car is running pretty well I’m excited to start preparing the Stretch Vanagon body for the swap. Maybe it’s time to take some base weight measurements and start cleaning it out. The real adventure is about to begin!
-Otmar