In this Video update I discuss:
- Progress on getting parts
- Tesla seat teardown
- LIN bus hacking
1)Parts:
Good progress has been made getting parts.
I scored a beautiful almost new set of original 19″ wheels with Michelin tires from California. I prefer the Michelin tires over the Goodyears since they reportedly have lower rolling resistance. This should leave me with three extra wheels, two of which I can save as spares for backcountry desert roads and one I can sell to someone else who wants a spare.
I have not decided if I’ll integrate the back of the liftgate and taillights into the Stretchla, but if I do I now have a full set of taillights to fit. There was a slightly damaged new part on ebay that was a good deal. It replaces the one broken one I had which was missing the outer cover.
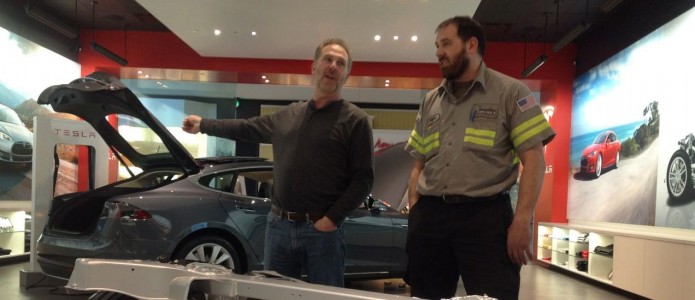
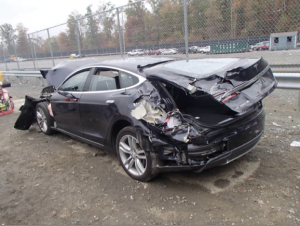
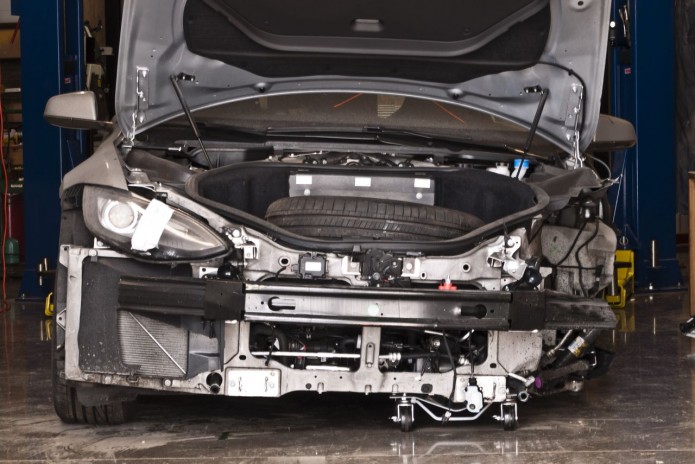
The most exciting time was travelling up to Portland for a Tesla pilgrimage. I grabbed John “Plasma Boy” Wayland as a sidekick since he’s always up for an adventure. We stopped by Precision Auto to check out the damage on Gary’s car (it doesn’t look too bad) and then headed over to the Tesla factory showroom. It was Plasma Boy’s first time at a Tesla showroom and he was duly impressed. I took a few more pictures of the chassis on display. I couldn’t ask for a better reference for my project. Here are the wheels, suspension and the lower part of the frame on display without any body parts in the way, it shows most of the parts I plan to reuse. I noticed something new this time, the radiator louvers were in place and I saw where the orphaned louver motor in my car was supposed to go. This also allowed me to determine the proper actuation angle which will help when spoofing them.
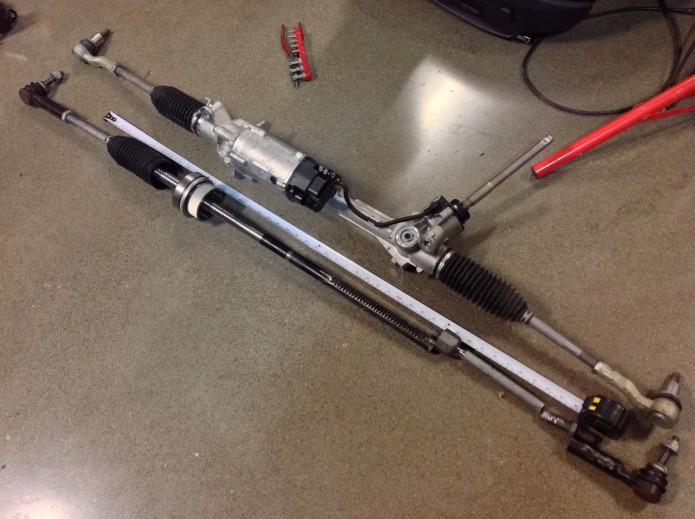
Next we stopped in at the tesla Service center. It was great to meet Jason and Emily who had been so helpful on the phone in the past. Emily and I sat down and went through my parts list to order everything that I still needed. It was helpful to be able to see the parts diagrams and add the nuts, washers and o-rings that I need. I know I’ve whined about Tesla parts cost in the past, and I still think the power steering unit is priced higher than comparable cars and the air strut is more than twice the cost of a MBZ part, but smaller parts were quite reasonable. Seeing that the left AC condenser and fan assembly cost only $299 new, (while people on ebay were trying to get $250 for damaged ones!) I decided to splurge and buy it and the fan controller ($180) as well. I also ordered up the front air strut assembly, knuckle, lower control arms and other small parts that need replacement. It felt easier to spend the money on the parts now. Either I’ve adjusted to the cost of new luxury car parts, gotten over my crazy expenditure on the original wreck, or maybe it just seemed silly to try to search for used parts when my TSLA stock was doing so well. It’s a relief that I no longer need to look for a wrecked car to find these parts used and I’m excited to get the car rolling soon. I forgot to ask when the ordered parts are expected, but I’ll be ready when they come in.
2) Seat Dissection:
I decided that the Tesla passenger seat would not be needed when testing the drivetrain. I’ve been concerned about the height of the seating position in the Vanagon regarding seat rail to suspension clearance so I decided to dissect the Tesla seat while checking out the options for modification. The seat seems pretty heavy at 57+ lbs, much of that is in the steel structure for the seat bottom motion controls. Since the Vanagon has an upright seating position I decided that I don’t need the base angle controls, later I’ll have to decide if I want to make fore/aft adjustment with seat rails. That would be a lot more work and I figure as long as I’m still single (or dating someone with compatible leg length) there’s no real need for adjustment. I can mount it to fit me and worry about other drivers later.
I removed the side bolster “pelvis?” airbag. I have no intention of using air bags in the Stretchla and I’d rather not carry around extra explosives. Maybe when I’ve removed all the air bags I can sell them to help restore some other damaged Model S.
The good news is that the controls I care about like the back angle and lumbar adjustments are easy to retain, and there is plenty of clear space to allow mounting the seat close over the air strut in the best seating position for comfort and visibility.
3) LIN Bus Louver hacking
One goal of this project is to go Supercharged camping soon. That goal is somewhat in conflict with the goal of learning new things. In the past I’ve resisted coming into the modern age of cars especially in such things as LIN and CAN bus communications. This project has given me a great excuse to get familiar with both of these protocols. I’m very fortunate that my friend Debbie Hollenback also enjoys learning new things and she is much better than I at composing C code. Together we’ve had fun working with the radiator louver system.
For those who wonder “why louvers”, it’s simple. Air drag in a vehicle is lower (Some ecomodders report 5% gain in fuel efficiency) when air is prevented from travelling through the radiator(s). Some modern cars like Tesla, with an eye toward efficiency, are implementing automatic louvers that stay closed unless cooling is necessary. The louvers in the Tesla look like they are made by Röchling. They did not reply to my email request for information.
The louver motor controls all seem to have the same three wires. Ground, +14V and data. First I scoped the data signal and found that it looked like diagrams of LIN bus data. Next I hooked up some resistors to protect my trusty Saleae Logic Analyser and downloaded the latest beta code (required for LIN analysis) to my Mac. I love that the Saleae code is multi-platform and works well on the Mac. This confirmed that the protocol is indeed LIN and allowed me to spend some time with paper and a spreadsheet gathering codes and responses from a 30 second snapshot of LIN data from the Tesla. This sort of thing is slow and tedious, the Saleae is not ideal for long data gathering, so the next news came perfectly timed.
Josh at RechargeCar offered up one of his Macchina boards. The Macchina is an Arduino compatible board, very similar to the Mega 2560 with the addition of hardware to run automotive OBD protocols including CAN and K line aka ISO-9141 which seems to be a form of LIN. This is a neat little board that came in very handy, Debbie and I are fans of the Arduino system since it makes simple tasks easy to implement. Although we can code it all the hard way, why bother when the Arduino environment makes simple projects go easily and quickly? You really don’t have to know how to program to get started using Arduino.
Debbie made up some programs (Arduino “sketches”) that manipulated (bit banged) the LIN port initially to send some commands so we could see the louver motor respond. She then modified it to also read back the data from the louver motor. Next she wrote up “sniffer” code to read data on the LIN bus and display it in a easy readable format in our laptops. This made it much easier to see what codes the louver is sending back so we can spoof those.
We’ve (probably) deduced which addresses are used for the missing louvers, and we can only hope that they respond with the same data set as the one motor that we have here. Next up we’ll try to spoof all the louvers and hope that the car likes what we send. We’ll know it worked if the car stops sending louver error codes to Tesla. If that works, we may hook up a set of RC car servos in place of the louvers so we can watch the car cycling them. It’s fortunate for us that the car cycles the lovers on power up. Otherwise it could be a slow process getting the proper codes.
I’m sure that buying a new set of louvers (for $532.40) would have moved things along much faster, but then we would not have learned LIN bus down to the nitty gritty bit level. It’s a good brain workout to try to decode the nibbles and bits of data and lots of fun for people like us!
